
Postman is a tool which allows you to make requests to endpoints manually or automatically. You can setup tests on the responses to check if things are working as they should be.

Postman can be run using an application or in the command line.
Basic Request
To start with, here is a basic GET request sent to Google from the application:
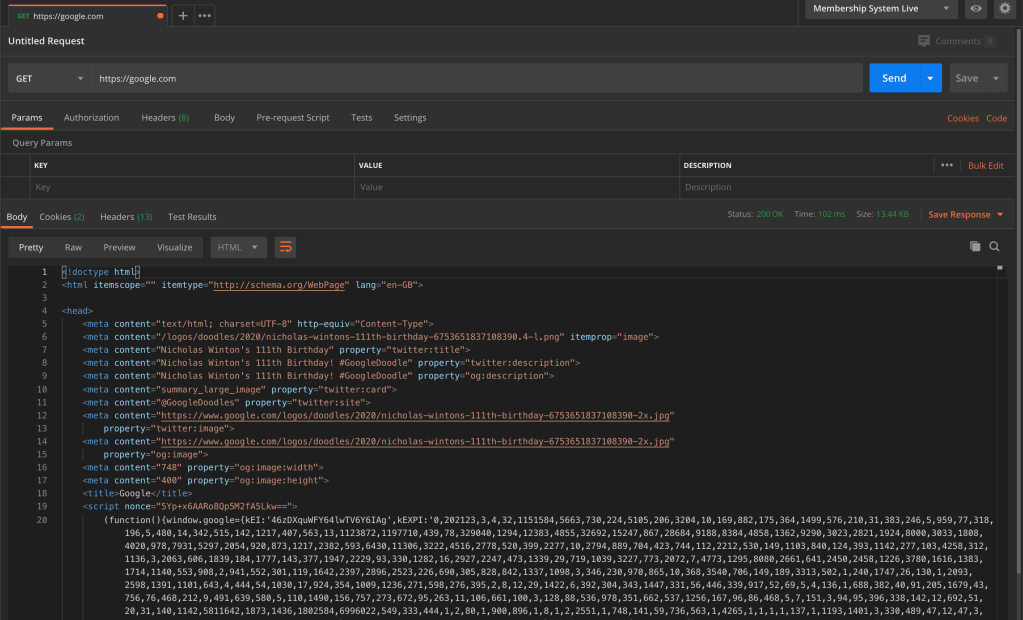
To break it down simply, firstly we have the type of request, GET, and the URL we are sending the request to:

As this is a simple request, we are not sending any headers or paramters, so we can cover those later. Therefore in terms of the request, that is all!
Next, we can look at the response. Firstly we can see the status code and response time:

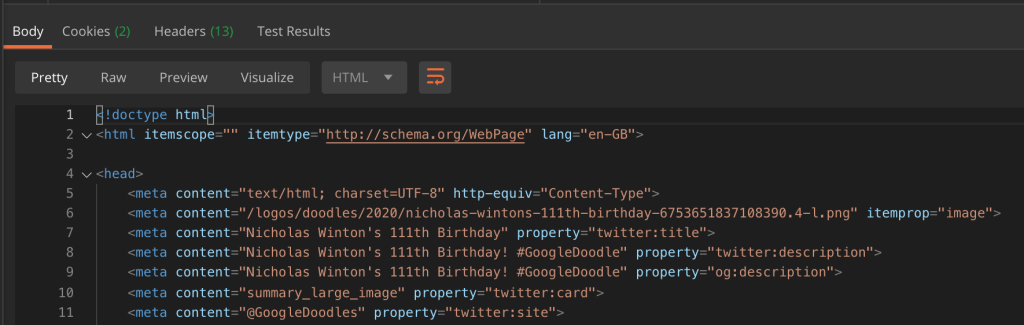
We can also see the body of the response:
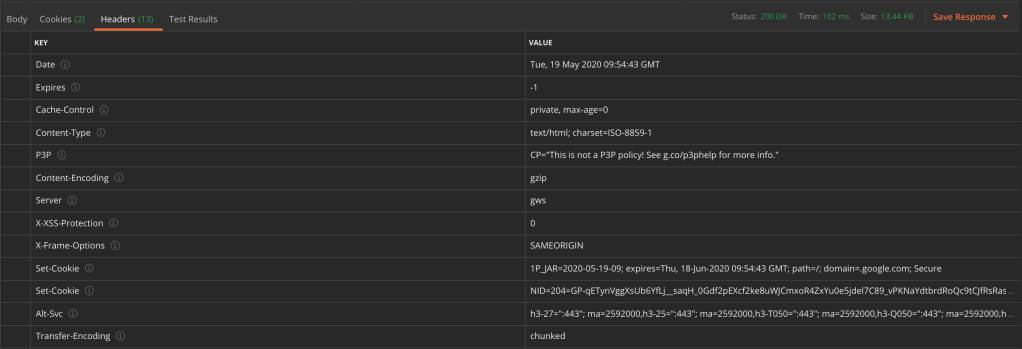
You can also view the headers:
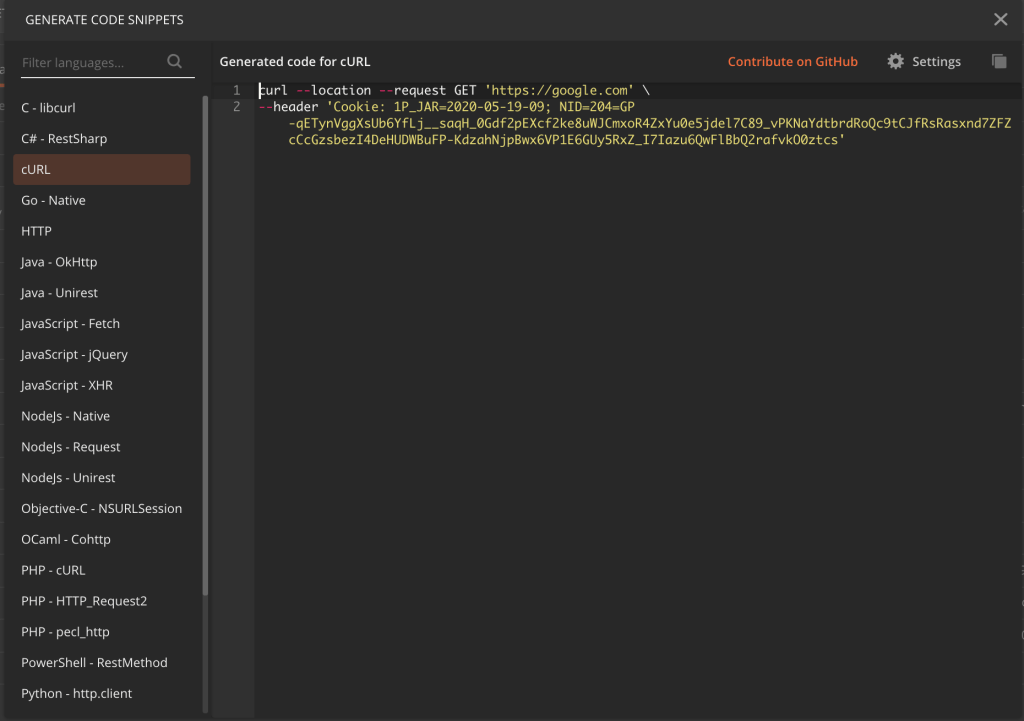
Clicking on the Code link will give you a bunch of code snippets which are the equivalent of the call Postman just made:

API Request
So that was a very basic request to a website. Now we can look at a more complex request to an actual API. I had to create an API as part of my apprenticeship, so I can use that as an example. Here is the request:
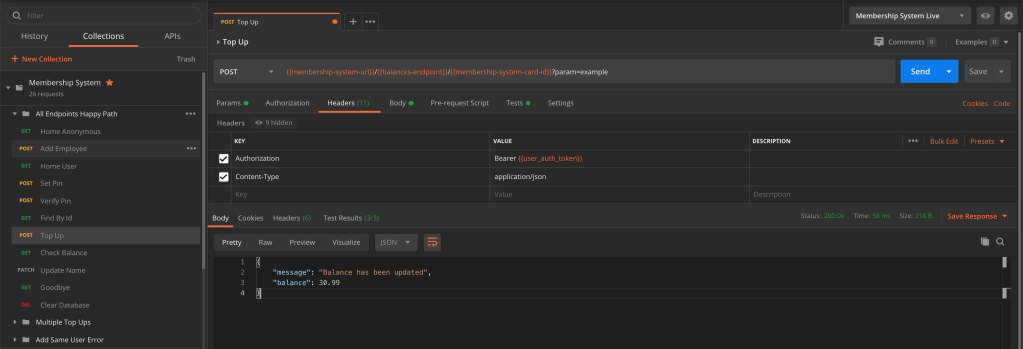
So there is a few more things to add on here. Firstly the stuff that is the same, we still make the request in the URL bar, except this time it is a POST. The response comes back with a status code, response time and body.
Some new bits though, you can see the url is written strangely within curly brackets.

That is because I have stored each part of the URL as an environment variable, stored in my “Membership System Live” environment.
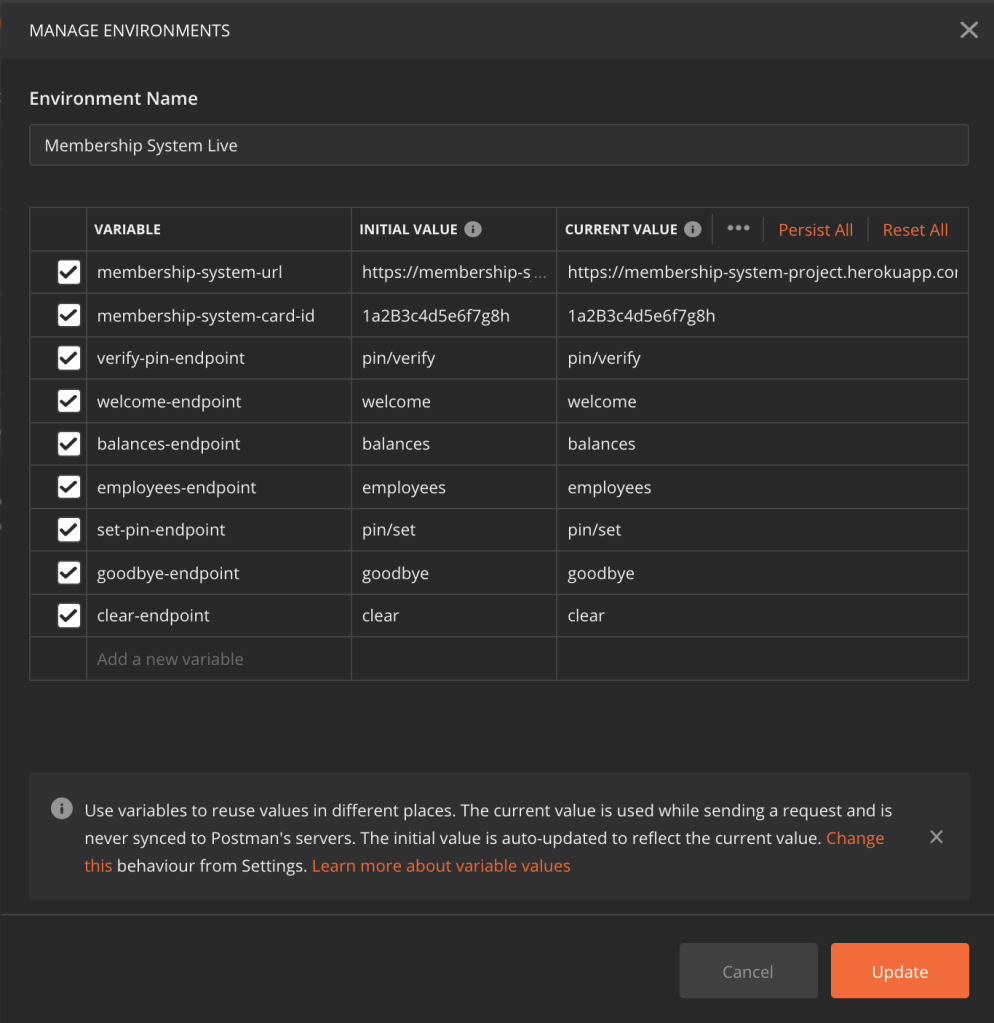
You can call the variables by putting the name within two curly brackets, e.g. {{membership-system-url}}.
You can also see in the URL, there is a ? followed by param=example. The question mark is how we pass parameters in the URL. Postman breaks these out in the Params tab.

The endpoint we are sending the request to requires authorisation, which is sent through via an Authorization header. These can be added in the Headers tab:
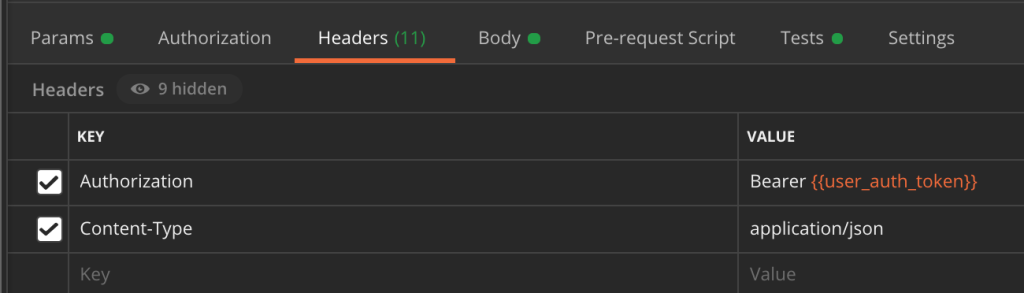
You can see in the above that the auth token is actually stored as a variable. This is not a constant, and is actually set using a test from another endpoint. I will go into more detail on that shortly.
The next tab is the Body tab in the request. As this is a POST we can send a body, which in this case is a balance to add to the users account:

On the right you can see that I have selected JSON in the dropdown as this is the format I am sending my data in. This is also specified in the Content-Type header, which is set to application/json.
Finally for the request there is the Tests tab, which allows you to assert things on the response, and is also where we can set variables. Here is the test for the current call:

The tests are useful when using the collection runner which I will talk about later. I mentioned that the auth token was set in another call, here is the Tests where that happens:
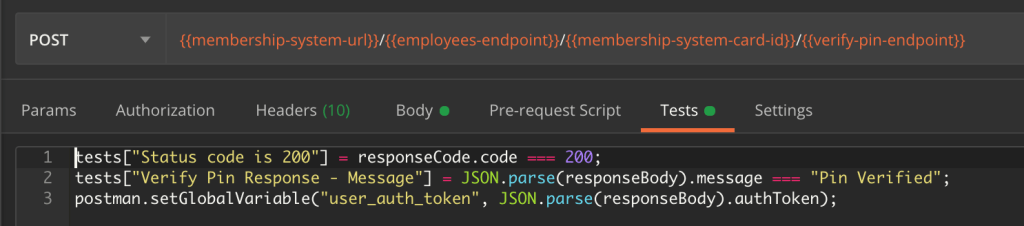
You can see at the bottom that we set the variable based on the json response that is returned, which is parsed and saved. Here is the response:

Now looking at the response to our call, there are only a couple of differences. The format of the body is now JSON rather than HTML, which is specified in the Headers tab.

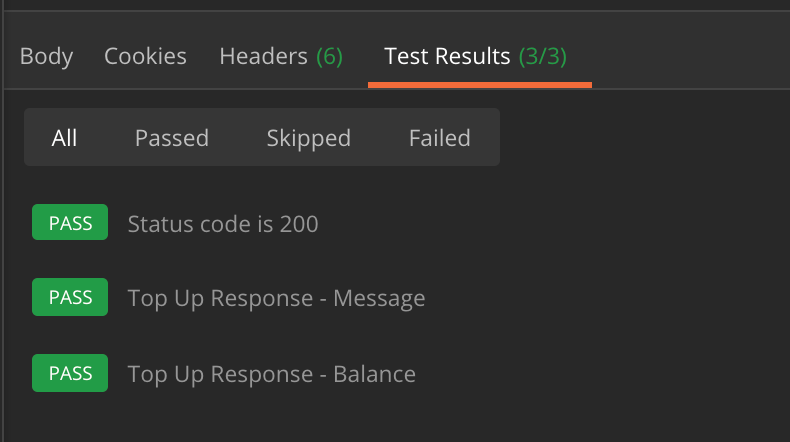
The Test Results tab shows us the results of our Tests:
Collections
Postman allows you to save requests and group them into Collections.
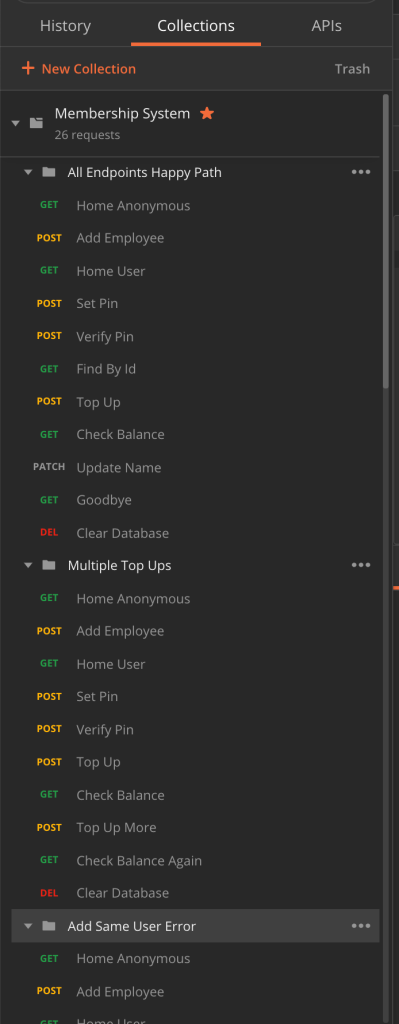
This allows you to very quickly make calls that you want to make without having to write everything out again. It also allows you to create journies through your API. As you can see above I have a collection, which has folders within representing different journies.
Having these collections means I can make use of the Collection Runner:
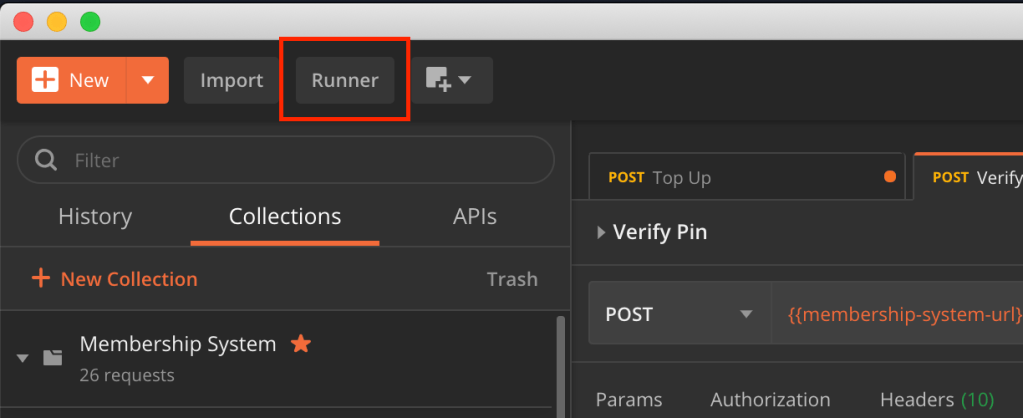
The runner allows you to run through these journies, and checks that the tests you have written pass.
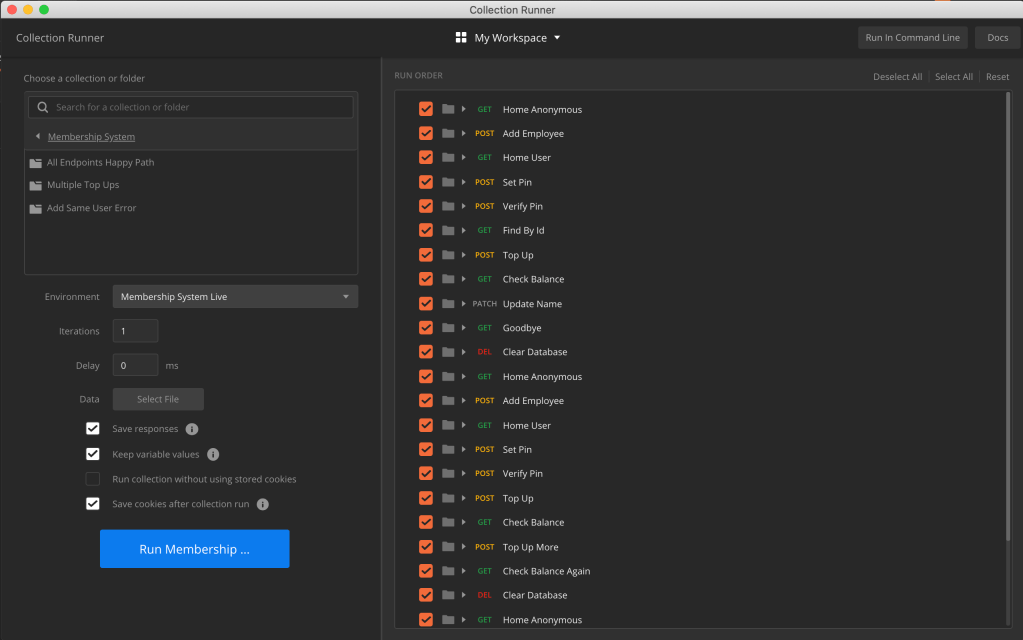
In the runner I can pick an environment and a collection which I want to test.

Postman CLI
All of this can be done in the Command Line Interface as well. You can export collections and environements into json:
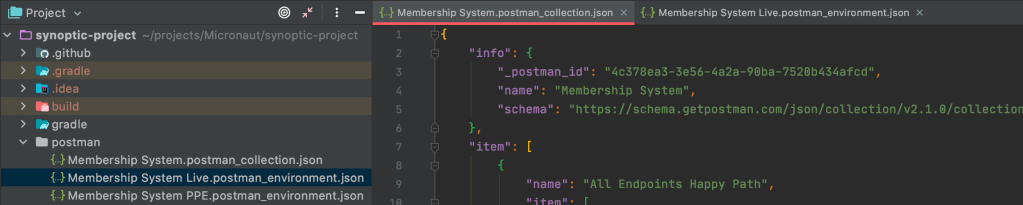
Having these exported makes it easier to run from the command line.
$ newman run examples/sample-collection.json --globals=examples/env.json
Postman Docker
As part of my project, I also was able to run the Postman CLI from Docker. I created a script to do this:
#!/bin/sh

response=$(curl --write-out %{http_code} --silent --output /dev/null https://www.postman.com/collections/867e413fa8b3cd60e14b)
collection=""
env=""
print=""
print2=""

if [ "$response" == 200 ]; then
  collection="https://www.postman.com/collections/867e413fa8b3cd60e14b"
else
  collection="/tmp/newman/Membership System.postman_collection.json"
  print2=" and Collection"
fi


if [ "$2" == "local" ]; then
	env="/tmp/newman/Membership System PPE.postman_environment.json"
	print="Local"
else
	env="/tmp/newman/Membership System Live.postman_environment.json"
	print="Live"
fi

echo Running Postman Test on "$print"
echo Using Env"$print2" File From "$1"
echo
docker run --network host -v "$1":/tmp/newman -t postman/newman_ubuntu1404 run "$collection" --globals="$env"
echo
echo
Theres a bit to go through here so I can break it down:
response=$(curl --write-out %{http_code} --silent --output /dev/null https://www.postman.com/collections/867e413fa8b3cd60e14b)
collection=""
env=""
print=""
print2=""
Here I am setting up my variables. The main thing here is the response variable. Postman allows you to host collections on their website to make them easier to share. I am curling to this URL to check my collection is still accessible on the website. I am storing the response status code to check in the next part:
if [ "$response" == 200 ]; then
  collection="https://www.postman.com/collections/867e413fa8b3cd60e14b"
else
  collection="/tmp/newman/Membership System.postman_collection.json"
  print2=" and Collection"
fi
If that response code is 200, I set my collection variable to use that URL. Otherwise I set my collection variable to the path of a local collection file instead.
if [ "$2" == "local" ]; then
	env="/tmp/newman/Membership System PPE.postman_environment.json"
	print="Local"
else
	env="/tmp/newman/Membership System Live.postman_environment.json"
	print="Live"
fi
This next section of code is checking what the second passed in variable is. When the script is run, it is run with two variables. The first is the current path to the directory the user is running the script in, which makes it easier to find the local files. The second ($2) is either blank, or local. If it is local then the env variable is set to the PPE postman environment. If it’s blank then it is set to the Live postman environment. The difference between the two is the URL they send requests to. When running against local, the requests are sent to localhost:8080, which I am running another Docker image on which has the API on it. If it’s Live, it sends it to a hosted version of the API on Heroku.
echo Running Postman Test on "$print"
echo Using Env"$print2" File From "$1"
echo
docker run --network host -v "$1":/tmp/newman -t postman/newman_ubuntu1404 run "$collection" --globals="$env"
echo
echo
This last bit of code is firstly using echo to print out some information. $print is a variable which is set to Live or Local depending on which environment I am using. $print2 is another variable which I set if the collection is also being accessed locally. $1 as I mentioned earlier is the path the user is in. The next bit may need further breakdown!
docker run --network host -v "$1":/tmp/newman -t postman/newman_ubuntu1404 run "$collection" --globals="$env"
docker run – docker in this case is calling the CLI for Docker. Run tells Docker that we are going to run an image on a container.--network host – Allows us to make calls to another Docker container.-v "$1":/tmp/newman – This is telling docker to copy files from $1 into a folder on the Docker container at the path /tmp/newman. If we didn’t do this, the local files would not be accessible by the container.-t postman/newman_ubuntu1404 – This tells docker that we want to use this image for the container. This is a prebuilt Postman image.run "$collection" – This is telling the Postman image that we want to run the collection at the path set in the $collection variable.--globals="$env" – This tells Postman that we want to use the variables in the file at the path definied by the $env variable.
Here is a gif of me running this script using a gradle task:

You can download Postman here.
You can find the list of all of my Knowledge Sharing posts here.

One thought on “Postman”