
Take Note
Writing good quality notes it turns out is a very good skill to have. I didn’t realise until I started working that it was a skill that I was fairly good at. I have often heard from colleagues how I am able to take lots of notes quickly and effectively, which ultimately means I am given the duty of note taking during meetings. It’s a gift and a curse.
I had the idea of trying to share that skill, and came up with a top 3:
Speed
The first and most important thing is speed. I simply just take as many notes as I can. I write down everything, which allows me to go back later and filter out the good stuff. Usually if I make a spelling mistake I will just carry on and fix it later, as long as it’s close enough to understand. I write down as much as possible as quick as possible which also helps with the next part.
Detail
By writing as quick as possible, I can capture everything that is talked about. This is most useful when reading back over the notes as you can get all the context and outcomes from the notes, without having to try and remember what was talked about. Explanations of things which may come across as not important at the time might be really helpful at a later date, so having it in the notes is always helpful.
Content
While I encourage you to write down everything, the way you write it down is important too. I often add my own side notes to explain things in a way I understand better, because I know I am the one who will be reading the notes back. I will take shorthand notes sometimes if things are moving quickly, missing words out that I know aren’t important to the meeting and structure of the sentence, so everything is still clear and understandable and covers the points it needs to.
How I Take Notes
I used to use Microsoft OneNote when I worked in my previous role on a Windows laptop, mostly as it was included in Office and worked well enough. I also liked that it synced to OneDrive or Sharepoint so everything was backed up on the cloud and available on any device.
However once I started as a Software Developer I wanted to take notes with snippets of code in them, which OneNote doesn’t support. There were plugins available for Windows, but as I had switched to a Mac I couldn’t use them. I looked around online to find some good alternatives, and tried out a few:
Notion – I really liked the layout of Notion, and the way that it worked. All notes were stored in the cloud on their server, and they had an editor on the web to make your notes. Alternatively you could use the desktop application. It worked in a similar way to WordPress does, using blocks to separate different objects. I really liked it, but couldn’t justify paying for the monthly subscription.
BoostNote – After Notion, I moved to BoostNote, an open source application. I liked BoostNote as it allowed you to structure the notes easily, with folders that could be easily created to keep notes filed away properly. It also uses markdown language for the notes, which allowed it to be versatile. The only issue I had with BoostNote was that it stored the notes in it’s own format, .cson, which meant I could only view them in the BoostNote application.

Notable – I did some more research and found another open source application called Notable. It also used markdown as the language, however it actually stored the files as .md which meant they could be viewed anywhere that support markdown files (which is a lot of places!). Instead of using folders, Notable uses tags. You can create notebook tags which can then have tags within them. This looks ok in the Notable application, but is less organised in the directory. For this reason I created folders separately and move the notes into the appropriate folder in the directory. It’s an additional manual step, but is not a big deal.
Notable
Now I was using Notable, which supports .md files, I could backup my notes to Github. This meant I could version control them, and access them from anywhere. However there was a problem with this too (nothings perfect I suppose!).
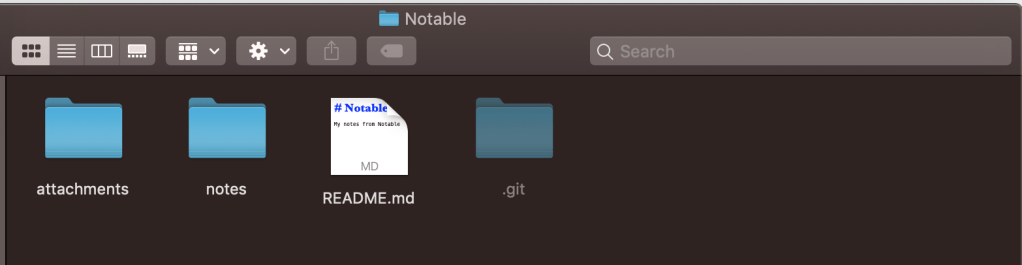
Notable has some shortcuts built in which do make some things easier. By default, Notable creates an attachments folder and a notes folder.
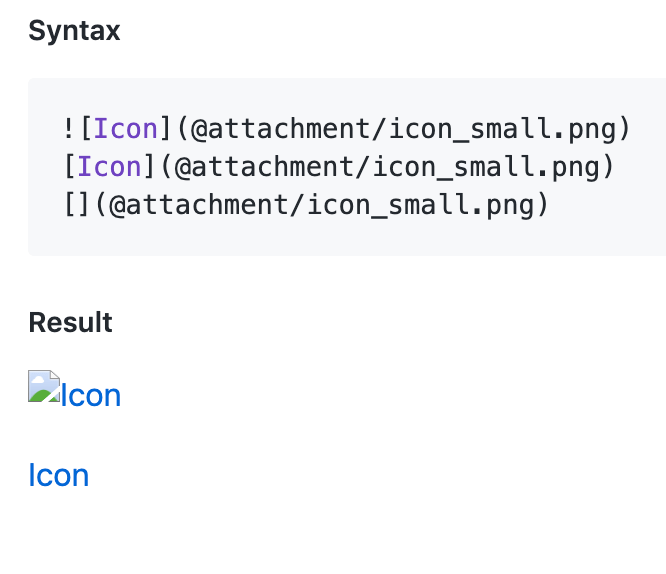
Any attachments added to notes go into the attachments folder. To then display them in the note, you would use the below code:

The @attachment part is a shortcut to the attachments folder. This displays fine in Notable:

However if you try to view it in any other application, you would just see:
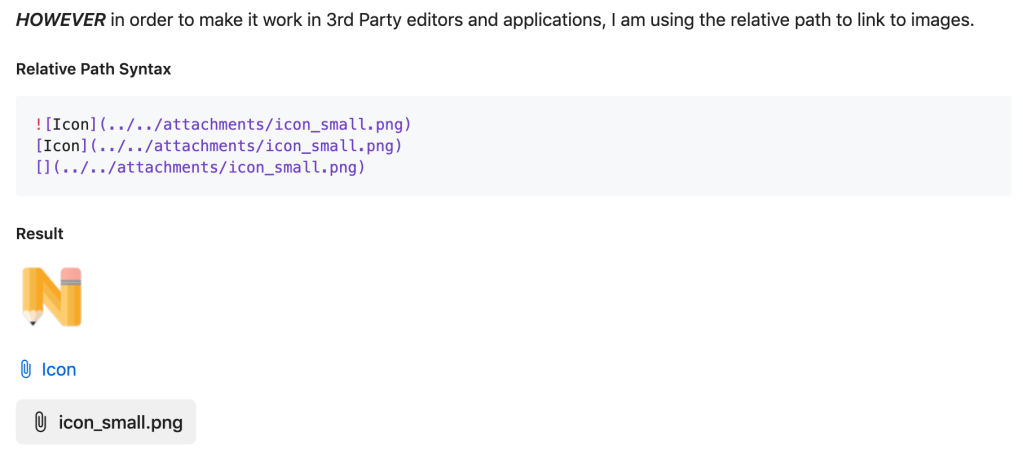
I wanted to have my notes viewable anywhere, so I decided to try and change it. I knew HTML style code worked in markdown, so I tried to link to the images using the <img> tag.
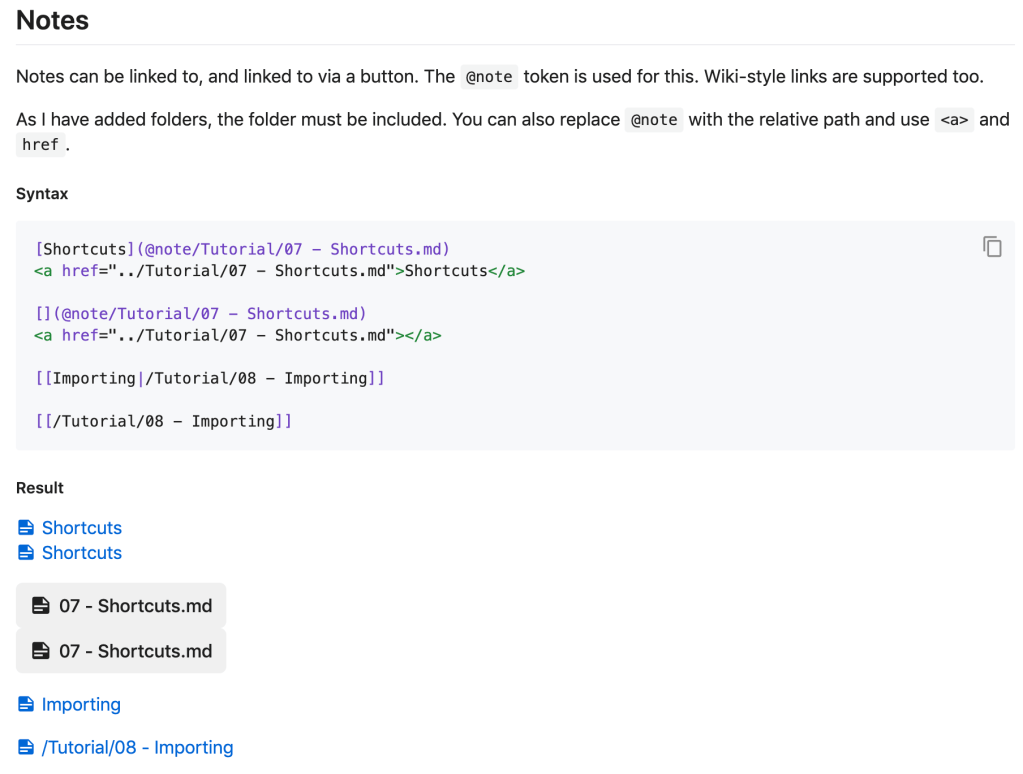
After some playing around with the relative path I managed to get it working, so I added a note to myself in the Notable tutorials:
Hyperlinks and links to other pages worked in the same way, using @link and @note, so I changed those to normal hyperlinks too.
Now I could get my notes anywhere, I decided to get them setup on my phone for use anywhere I needed them.
Android Terminal
To get the notes onto my phone, and maintain the version control and backup that git allows, I installed an app that would let me use the terminal of linux that Android is built on, Termux.

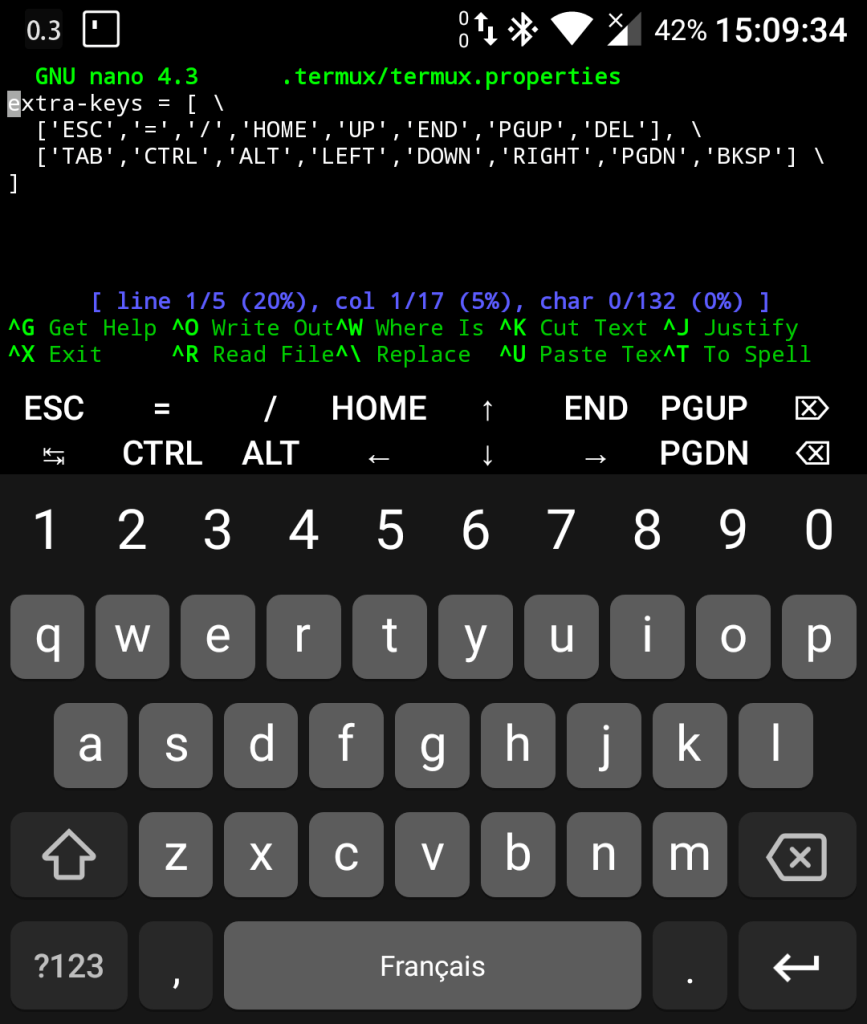
Firstly I wanted to increase the size of the extra keys that termux provides (ESC, CTRL etc.), as originally they were very small and hard to press the ones you wanted. To do this I followed instructions on the termux wiki to edit the extra keys. I used VIM to make the changes, adding in [], \ after each line to increase the spacing. That wasn’t in the wiki, more just wishful thinking from my end.
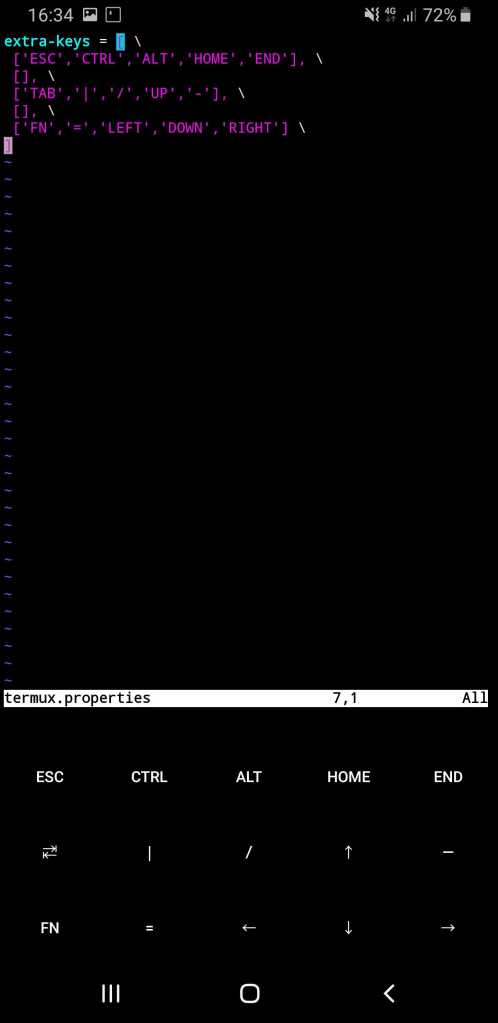
I’m happy to say it worked! This is what it looked like before, the example from the wiki:
I would like to say I got it right first time, however I initially missed the commas after the [] which completely broke it and got rid of the keys. This had the side of effect of making nano, my original text editor of choice, completely unusable, as you need the CTRL key to save and exit. This is why I installed VIM. Using VIM was new to me, so took some working out, but eventually I got it figured out.
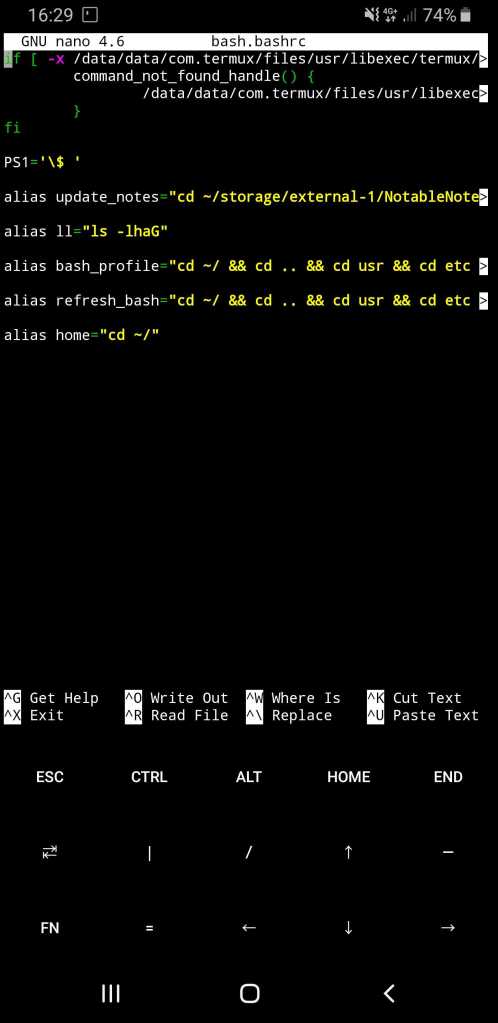
After getting this setup I started add bash shortcuts, which I have covered previously.
With the basics setup, I installed git using pkg install git, and navigated to my SD card. Once here, I cloned my notes repo.

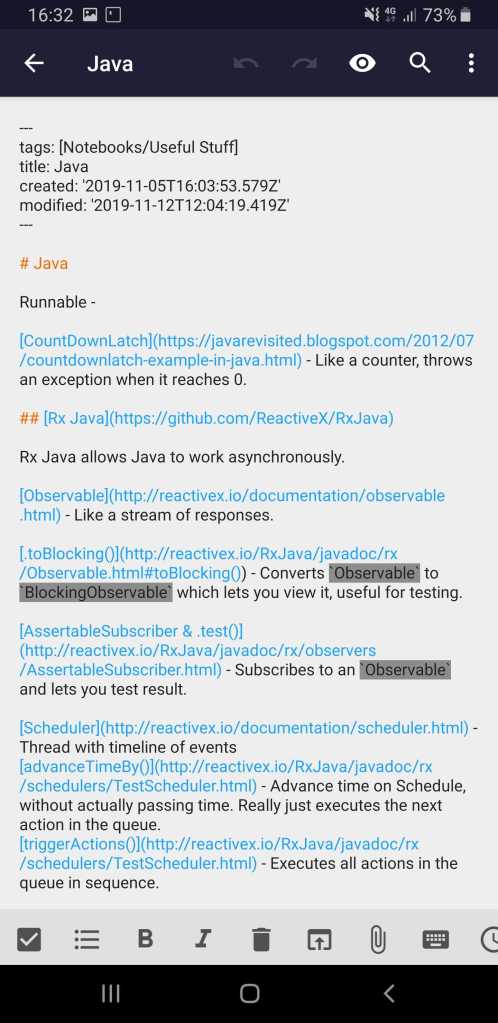
Now I can use a markdown note app on my phone, Markor, to view and edit my notes.


I use the update_notes shortcut to git pull any changes to the notes.
You can find the list of all of my Knowledge Sharing posts here.

One thought on “Making Notes”