
Travis and React
Travis
One of the features on the Trello board was to add Travis CI to our GitHub repo. Travis is a Continuous Integration tool which you can set up to run automatically when you commit to your repo. The below explanation of Travis is from their website:
Continuous Integration is the practice of merging in small code changes frequently – rather than merging in a large change at the end of a development cycle. The goal is to build healthier software by developing and testing in smaller increments. This is where Travis CI comes in.
Travis
As a continuous integration platform, Travis CI supports your development process by automatically building and testing code changes, providing immediate feedback on the success of the change. Travis CI can also automate other parts of your development process by managing deployments and notifications.
I decided to give it a go this morning, and it was actually surprisingly easy to integrate! The setup guide on their website gave me all the information needed.
- First step is to sign up to Travis. Signing up with GitHub is the easiest as you can then allow it to access your repos directly. Once signed up authorize Travis and activate the repos you want to add it to.
- In the project directory create a file called
.travis.yml. This file tells Travis that it needs to run its tests on the project. - In the
.travis.ymlfile, add what language you are using so it can test properly
language: java
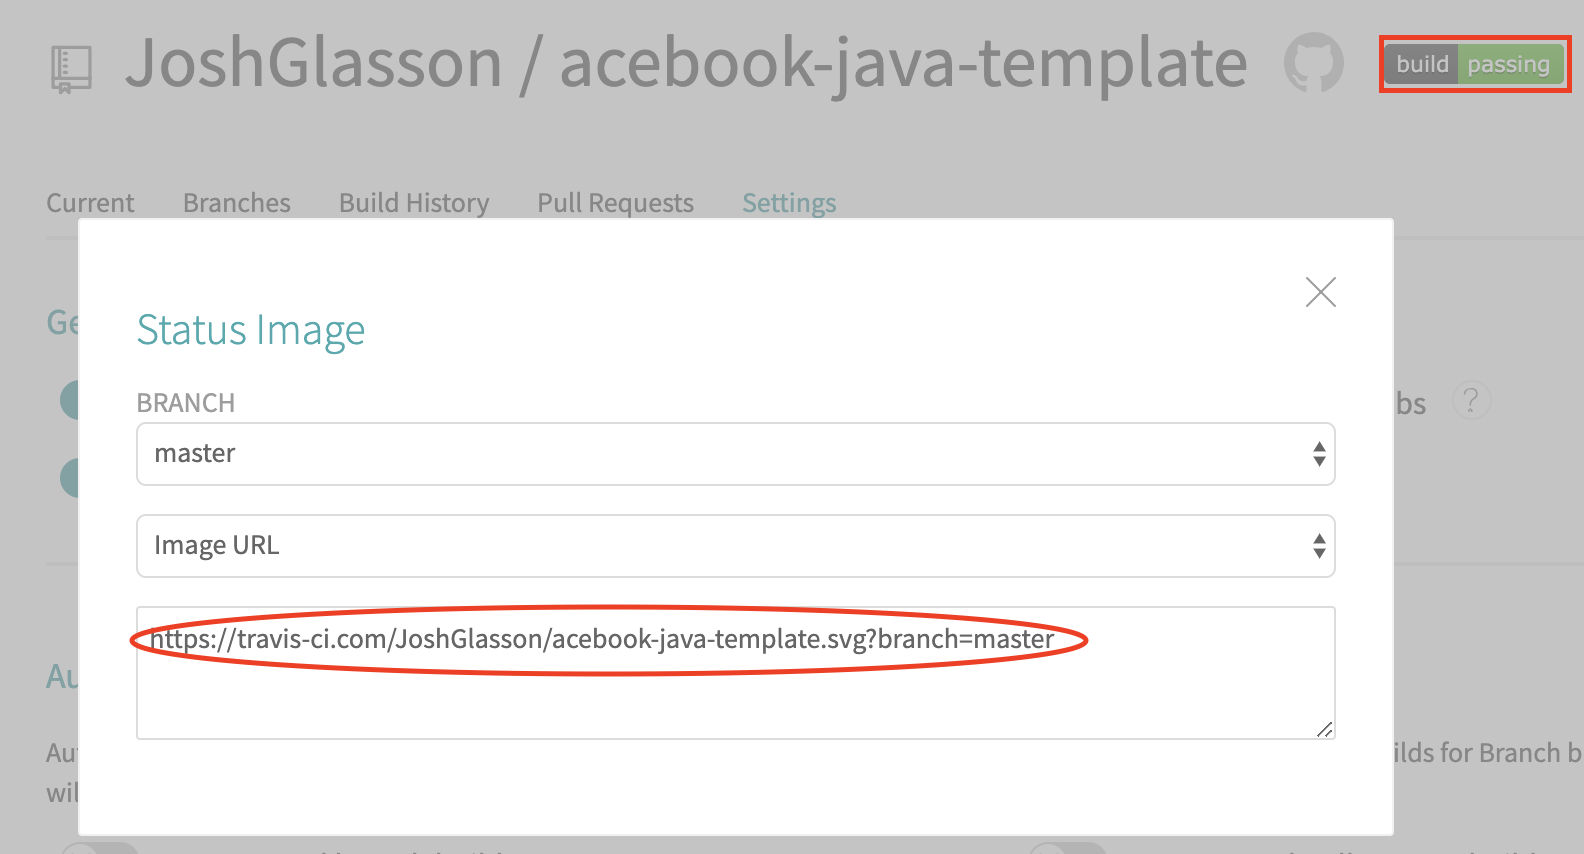
After that, git add and git commit the file, and the next time you push your repo to GitHub, Travis will run its tests and let you know if it passes or fails! Here is the live status for our project currently (I hope it is passing!):
Build Status:

You can add this to your project Readme file by using the below tag:

You can get the link on the Travis page, by clicking the build status next to the name of the repo:
Heroku Integration
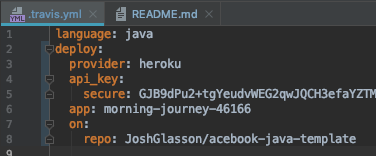
You can also set it up so that your build will only push to Heroku if the Travis check passes. The easiest way to do this is to install both the command line tools (using brew install) and then run travis setup heroku. You will need to be logged into both in the command line first and have already created your Heroku app and have it linked. You can check this with git remote -v. It will ask you if you want to encrypt your API as well, which I suggest you do as the file will be viewable in your repository! This then adds the following to your .travis.yml file:
Now they are linked, in your Heroku settings, you can select an option to only deploy when the tests pass:

Now whenever we push to our repo, Travis will test our code and then push to Heroku for us if it passes!
React
This morning we also went through the basics of React with one of the coaches. React is a User Interface JavaScript Library built by Facebook. Using React you can attach complex changing code to a simple hook in a HTML page. For example your HTML page might simply be:
<pre class="wp-block-syntaxhighlighter-code brush: xml; notranslate"><!DOCTYPE html>
<html lang="en">
  <head>
    <title>React App</title>
  </head>
  <body>
    <div id="root"></div>
  </body>
</html></pre>
Then in your React app, you can render a JavaScript class to that hook:
import React from 'react';
import ReactDOM from 'react-dom';
import './index.css';
import Hello from './Hello';

ReactDOM.render(<Hello />, document.getElementById('root'));

serviceWorker.unregister();
At the top we are importing some classes we need, including the Hello class from a document called Hello.js.
Then we render the class <Hello /> to any document, in place of the 'root' id.
Our Hello class looks like this
import React, { Component } from 'react';
class Hello extends React.Component {
render() {
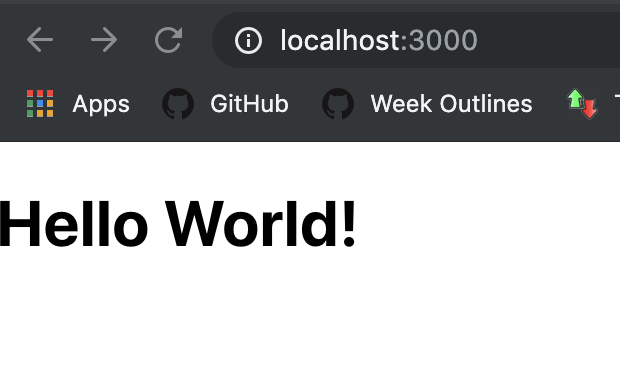
return <h1>Hello World!</h1>;
}
}
export default Hello;
This gives us this page:
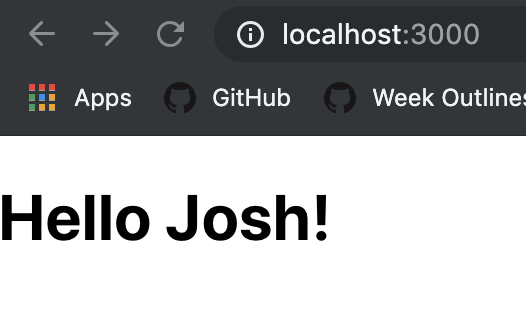
We can also add custom properties, defined with props. In our Hello class, we change “World” to be {this.props.name}. Putting it inside the curly brackets tells it to run JS. this.props.name defines a property on the class called name. We can then change our React app to render <Hello name="Josh" /> to give us this:
We followed along the guide on the React website, which I would recommend to anyone trying to learn it.
We have already used React in our project, and will be using it more going forward, so it is good to have an idea of how it works!
Liking Posts
We had a bit of time in the afternoon to start looking at liking posts, which involved some more React work. There are two stories for Likes; being able to press a like button and increment a like counter, and a user can only like a post once. We decided to get the first one working first, then we will work on the second bit tomorrow.
In order to do this, we had to set a state in our post.js class called likes and set it to 0. Then we added a like button that when clicked would run a method called Likes().
<button onClick={this.Likes}>
  Likes {this.state.likes}
</button>
Likes {this.state.likes} just displays our current like count. The Likes() method is pretty simple too.
Likes() {
  return this.setState({likes: state.likes + 1});
}
Because we had created this method, we had to add some code at the top to tell the React app to use it:
this.Likes= this.Likes.bind(this);
This all worked, and gives us this:
Tomorrow we will work on making it only work once, and clicking the button again will decrement likes instead!
Todays Song of the Day: